Get started
How-toSet up your workspace
From signup to your first booking — what onboarding creates and what to set up next.
Updated Sep 30, 2026
Sign up, confirm your email, and answer two questions. ServiceReserve then creates a working workspace with defaults you can edit anytime.
- 1
Sign up
Create an account with your email and a password, or with Google.
- 2
Verify your email
Email sign-ups get a verification link. Click it to continue. Google sign-ups skip this step.
- 3
Tell us about your business
Enter your Company name and pick your Industry (or Other). Click Get Started.
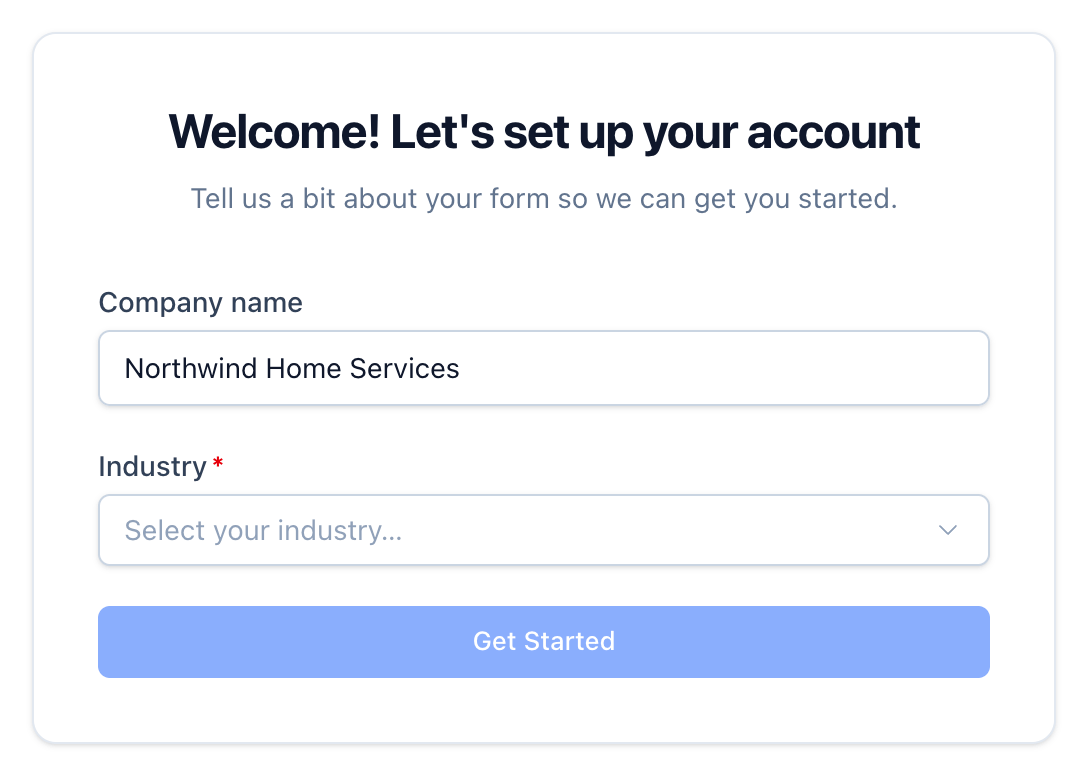
You land on Booking Forms, ready to set things up.
What onboarding creates
- Your organization — your company name and your browser's timezone.
- A service area — "Primary service area", with no zip codes yet.
- A service template — named after your industry and filled with that industry's common services. If you picked Other, you get two placeholder categories instead: General Services (Service Call, Consultation) and Emergency Services (Emergency Call).
- A schedule — "Primary schedule": 9 AM – 5 PM, Monday through Friday. Customers choose Morning or Afternoon, with at least one day's notice.
- A booking form — named after your company and linked to the area, template, and schedule above.
- Request stages — New, Contacted, Qualified, Won, and Lost.
Onboarding doesn't start your free trial. You start it later, when you turn on Reserve with Google or an integration. See Trials.
Recommended next steps
- 1
Add your zip codes
Open Service Areas and add the zip codes you cover. Then turn on the Service Area step on your form. See Service areas.
- 2
Build out services
Open Services and replace or edit the seeded services. Add intake questions where you need extra details, such as system age, a problem description, or photos.
- 3
Set your hours
Open Schedules and set the days and hours your crews work. Add overrides for holidays. Turn on the Scheduling step on your form so customers can pick a time.
- 4
Brand and configure the form
Open your form from Booking Forms. On the Appearance tab, use Branding to set colors. Turn on Display logo to upload a logo. Use Booking Steps to turn steps on or off.
- 5
Embed or share
Open Embed under Integrations in the sidebar to copy the script tag. Or open your form's Share tab for a direct link and QR code.
Defaults
The first item of each kind is marked Default. To make another item the default, turn on its Default toggle on its edit page. You can edit any default. You can't delete the current default or the only item of its kind. Make another item the default first.
Related
Online scheduling for home service businesses — booking forms, embeds, and Reserve with Google in one workspace.
Choose the zip codes you serve so customers outside your area can't book by mistake.
Create a new booking form, choose which steps customers see, and share it with customers by direct link, QR code, or website embed.
Add one script tag to your website and show the booking form inline, as a popup trigger, or as a floating button — with source attribution.
Every workspace gets one 30-day free trial with a card on file — how to start it, what's included, and what happens when it ends.